Preparing your home for a professional real estate photo shoot is one of the most important steps in the selling process. In today’s digital-first marketplace, buyers almost always encounter your home online before they ever step inside. Because of that, your home’s photographs are not just images—they are your first showing.
This guide, How To Prepare Your Home For A Photo Shoot, was created to help you understand what matters most, why it matters, and how to prepare your home so it photographs at its absolute best. With thoughtful preparation and guidance, your home can stand out online, attract more interest, and ultimately sell faster and for stronger value.
At Byrd Property Group, we believe preparation is not about perfection—it is about presentation. Our role is to help you present your home in a way that allows buyers to clearly imagine the possibilities, while feeling confident they are seeing a well-cared-for property.
Why Real Estate Photography Matters More Than Ever
Professional photography is one of the most powerful marketing tools used to sell a home. Listings with strong, well-prepared photos consistently receive more views, more showings, and stronger engagement from buyers.
The reason is simple:
Buyers scroll quickly. Homes that do not photograph well are often skipped—sometimes without ever being considered.
That means the work done before the photographer arrives has a direct impact on:
- How many buyers click on your listing
- How long buyers view your photos
- Whether your home makes their short list
- How motivated they are to schedule a showing
You truly get one opportunity to make that first impression, and thoughtful preparation helps ensure it is a positive one.
“Less Is More” – The Foundation of Great Photos
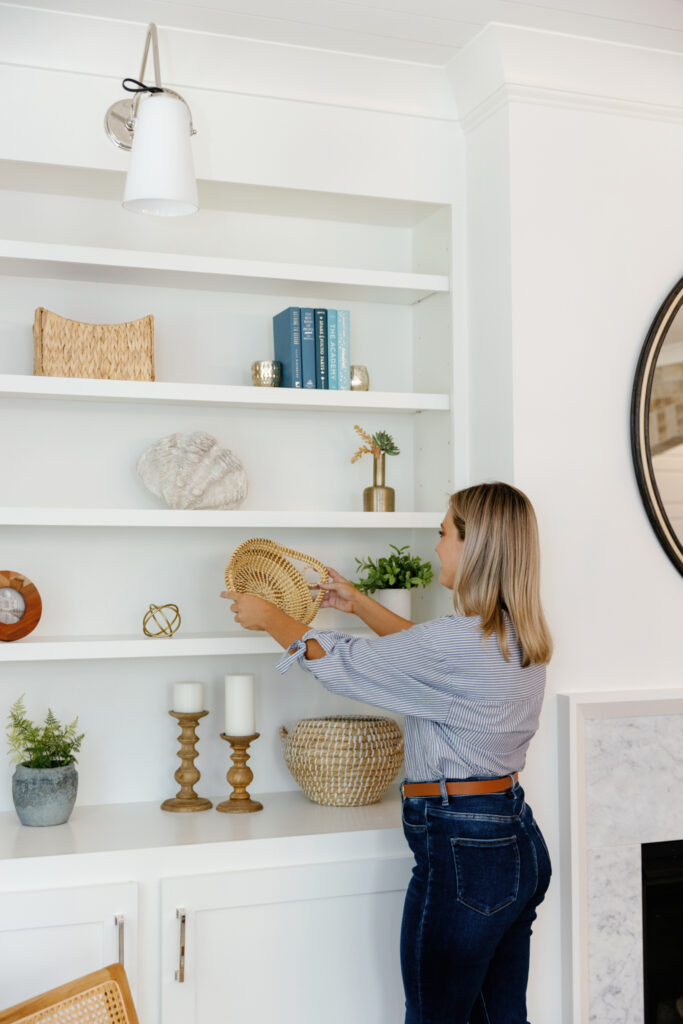
One of the most important principles of real estate photography is less is more.
What looks comfortable or personal in everyday living does not always translate well in photographs. The camera naturally exaggerates clutter, visual noise, and crowded spaces. As a result, the goal is not to showcase everything you own—but rather to highlight the space itself.
In most cases, successful photos are about what is not in the image.
A Helpful Mindset Shift
A simple exercise can help guide your decisions:
Walk into each room and ask yourself:
If this space were photographed for a home magazine, what items would not be included?
Those items are often the ones that should be removed or stored away for the photo shoot.
This approach allows the architecture, layout, light, and flow of the home to become the focal point—exactly what buyers are searching for online.
“Smaller Is Bigger” – Creating a Sense of Space
Another important concept in preparing your home for photography is what we call “smaller is bigger.”
While square footage cannot be changed, perception can. Rooms that feel open, balanced, and uncluttered often appear larger and more inviting in photos.
Furniture plays a major role in this perception. Today’s furniture is designed for comfort, but oversized or excess pieces can overwhelm a room visually. For photography, the objective is to:
- Create open floor space
- Maintain clear walkways
- Allow the eye to move easily through the room
Practical Ways to Achieve This
- Remove extra chairs from dining tables
- Take leaves out of expandable tables
- Relocate a chair or accent piece to another room
- Shift furniture away from doorways and sightlines
Often, small adjustments using what you already own can dramatically improve how a room photographs. Our team has helped hundreds of clients make these adjustments, and the results are consistently worth the effort.
👉 Suggested Internal Link:
Staging Your Home For Success – byrdpropertygroup.com/staging-your-home-for-success
Line of Sight – Thinking Like the Camera

The camera sees a room differently than the human eye. Tall furniture, room dividers, floor lamps, and decorative screens can interrupt the line of sight, making rooms feel closed or segmented in photos.
What feels intentional in person may unintentionally block the visual flow in images.
A Simple Test
Use your phone to take photos of each room from the doorway or main corner. This exercise quickly reveals:
- Items blocking views
- Furniture crowding the frame
- Visual distractions you may not notice day-to-day
You can also review online listings in your area to see which photos feel inviting and which do not. Applying those observations to your own preparation can be very effective.
Preparing Your Home for a Photo Shoot – The Right Mindset
One of the biggest challenges in preparing for a photo shoot is not physical—it is mental.
It is important to remember:
- Your agent is on your side
- Preparation is not criticism
- The goal is to help your home succeed
When your home is on the market, it transitions from being a personal space to being a product presented to the public. That shift can feel uncomfortable, but it is temporary—and the payoff is often significant.
Homes that are properly prepared typically:
- Generate stronger buyer interest
- Spend less time on the market
- Avoid unnecessary price reductions
Our role is to guide you through this process with clarity, support, and respect for your time and effort.
How To Prepare Your Home For A Photo Shoot – The Complete Checklist
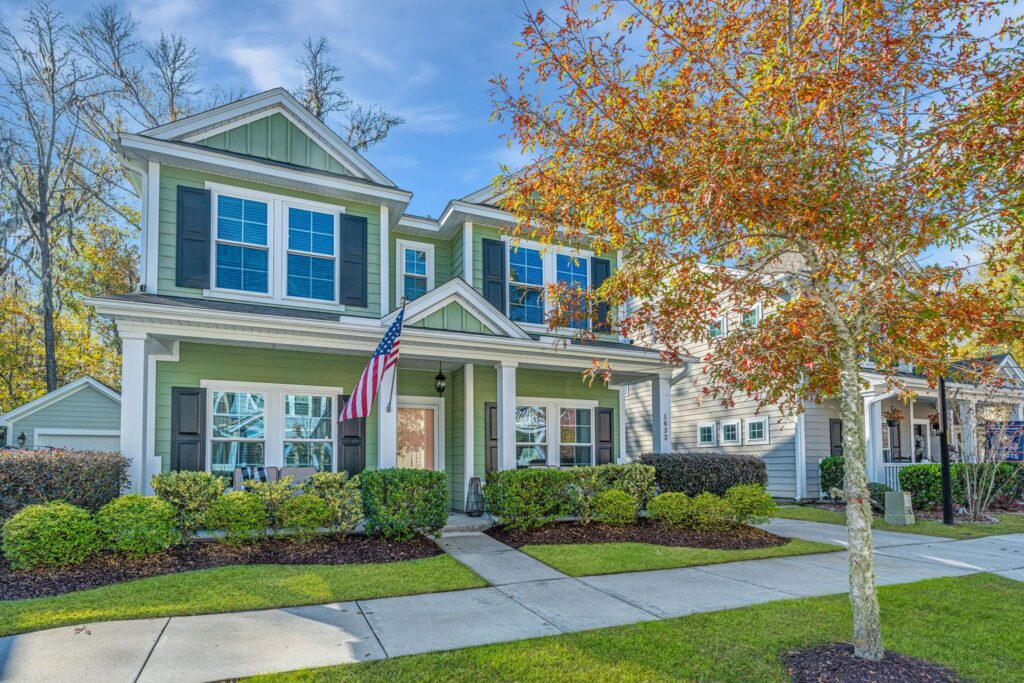
Exterior Preparation
- Move vehicles from driveways and street frontage if possible
- Close all garage doors
- Store trash cans and recycling bins out of sight
- Hide garden hoses and yard tools
- Remove newspapers and debris from driveways and walkways
- Sweep all walkways and hard surfaces
- Wash off chalk drawings the day before the shoot
- Open patio umbrellas and place cushions on outdoor furniture
- Remove grill covers
- Clean patio furniture (avoid washing immediately before shoot)
- Store toys and sporting equipment
- Remove pet bowls and toys
- Remove pet waste from yard
- Remove security and real estate signage
- Clean and prepare swimming pool if applicable
- Mow, rake, and edge yard 24 hours prior (do not water day of shoot)
- Turn off outdoor ceiling fans
- Turn on exterior lights and replace burned-out bulbs
Interior Preparation – Whole Home
- Turn on all interior lights
- Open all curtains and blinds
- Replace burned-out bulbs
- Clean mirrors, windows, appliances, and screens
- Store pet beds, toys, and bowls
- Remove excess wall décor
- Remove personal photographs
- Store items you do not want photographed
- Clean ceiling fans and vents
- Turn off ceiling fans and fireplaces
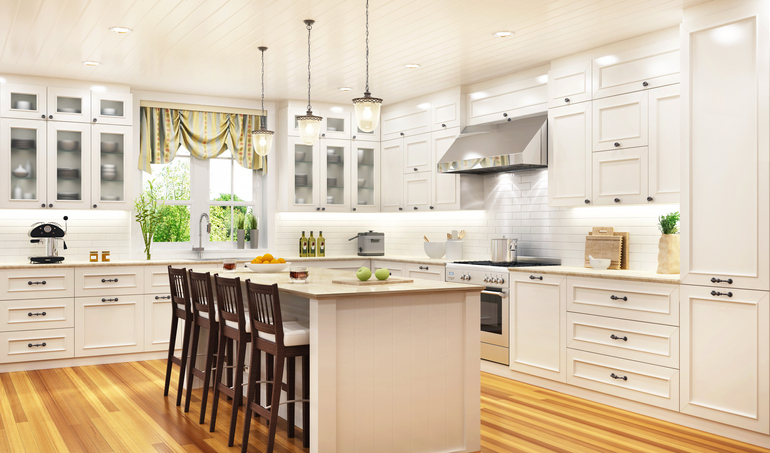
Kitchen
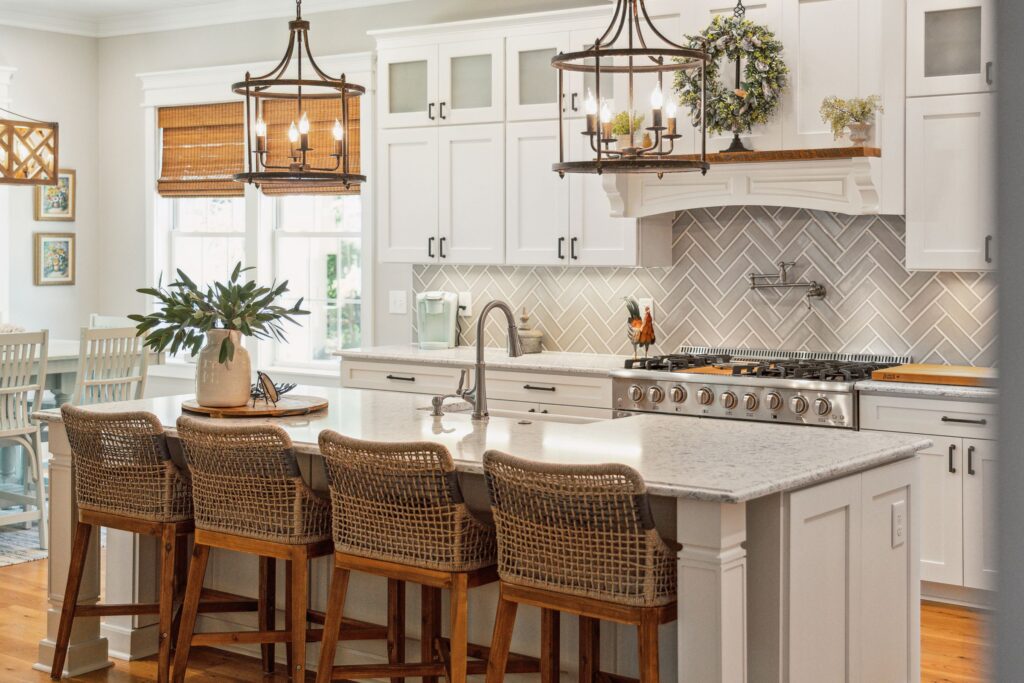
- Clear countertops completely
- Remove towels, sponges, soaps, and rugs
- Store trash can out of view
- Remove pet items
- Remove all items from refrigerator exterior
Bedrooms
- Make beds neatly
- Ensure mattress and box spring are hidden
- Remove items from under beds
- Store personal items
- Remove name-specific décor from children’s rooms
Dining Areas
- Remove table leaves
- Remove tablecloths and pads
- Relocate extra chairs
Living Areas
- Remove throw rugs
- Turn off televisions
- Store electronics
- Clear tabletops and coffee tables
Bathrooms
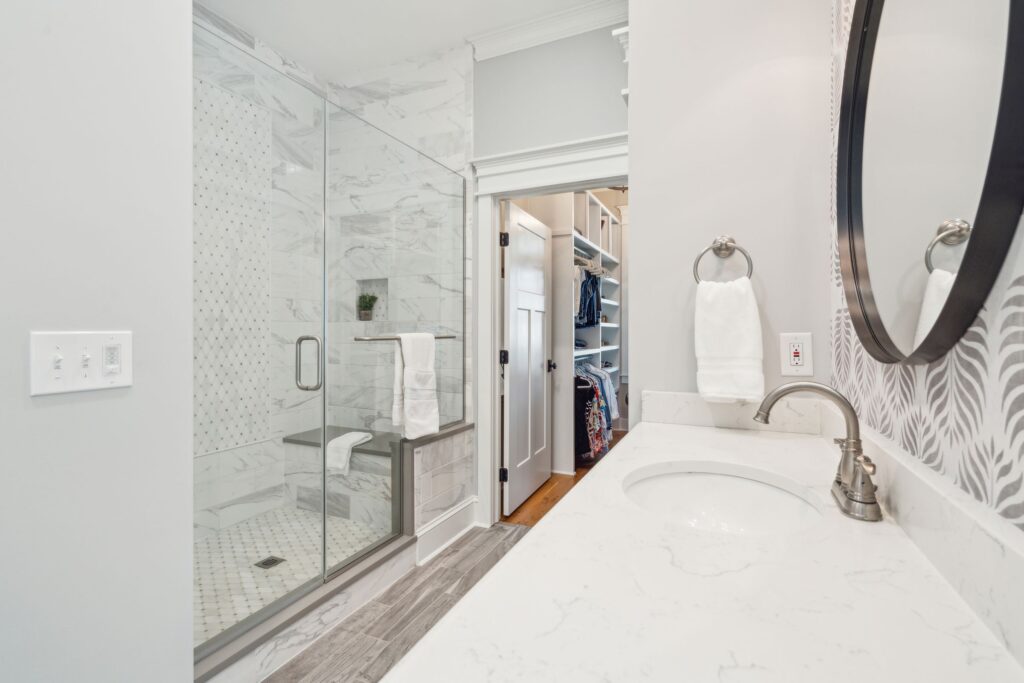
- Clean thoroughly—then clean again
- Remove toiletries and mats
- Store daily-use towels
- Add fresh, neatly hung towels
- Remove items from tubs and showers
- Add a fresh roll of toilet paper
- Ensure toilet seats are down
Front Door & Foyer
- Clean and polish front door
- Replace worn hardware if needed
- Touch up paint if necessary
- Remove clutter from entry
- Keep foyer open and inviting
Curb Appeal
- Trim shrubs well before shoot
- Ensure windows and façade are visible
- Add fresh mulch or pine straw
- Edge lawn at curbs and walkways
Final Thoughts: Preparation That Pays Off
Preparing your home for a professional photo shoot may feel like a significant task, but it is one of the most valuable investments you can make when selling.
The time and effort you put into preparation often results in:
- Stronger buyer interest
- Better online engagement
- A smoother selling process
At Byrd Property Group, we are here to guide you every step of the way. If you would like a printable version of this checklist or personalized guidance, we would be happy to help.
Frequently Asked Questions – Preparing Fro A Photo Shoot
Most buyers see your home online first. Proper preparation ensures your photos make a strong first impression.
Yes. Removing personal items helps buyers focus on the space rather than the occupants.
Not always. Strategic decluttering and furniture adjustments are often enough to significantly improve photos.
Most homes can be prepared over one to two days with focused effort and guidance.
Homes that photograph well typically attract more interest and avoid unnecessary price reductions.
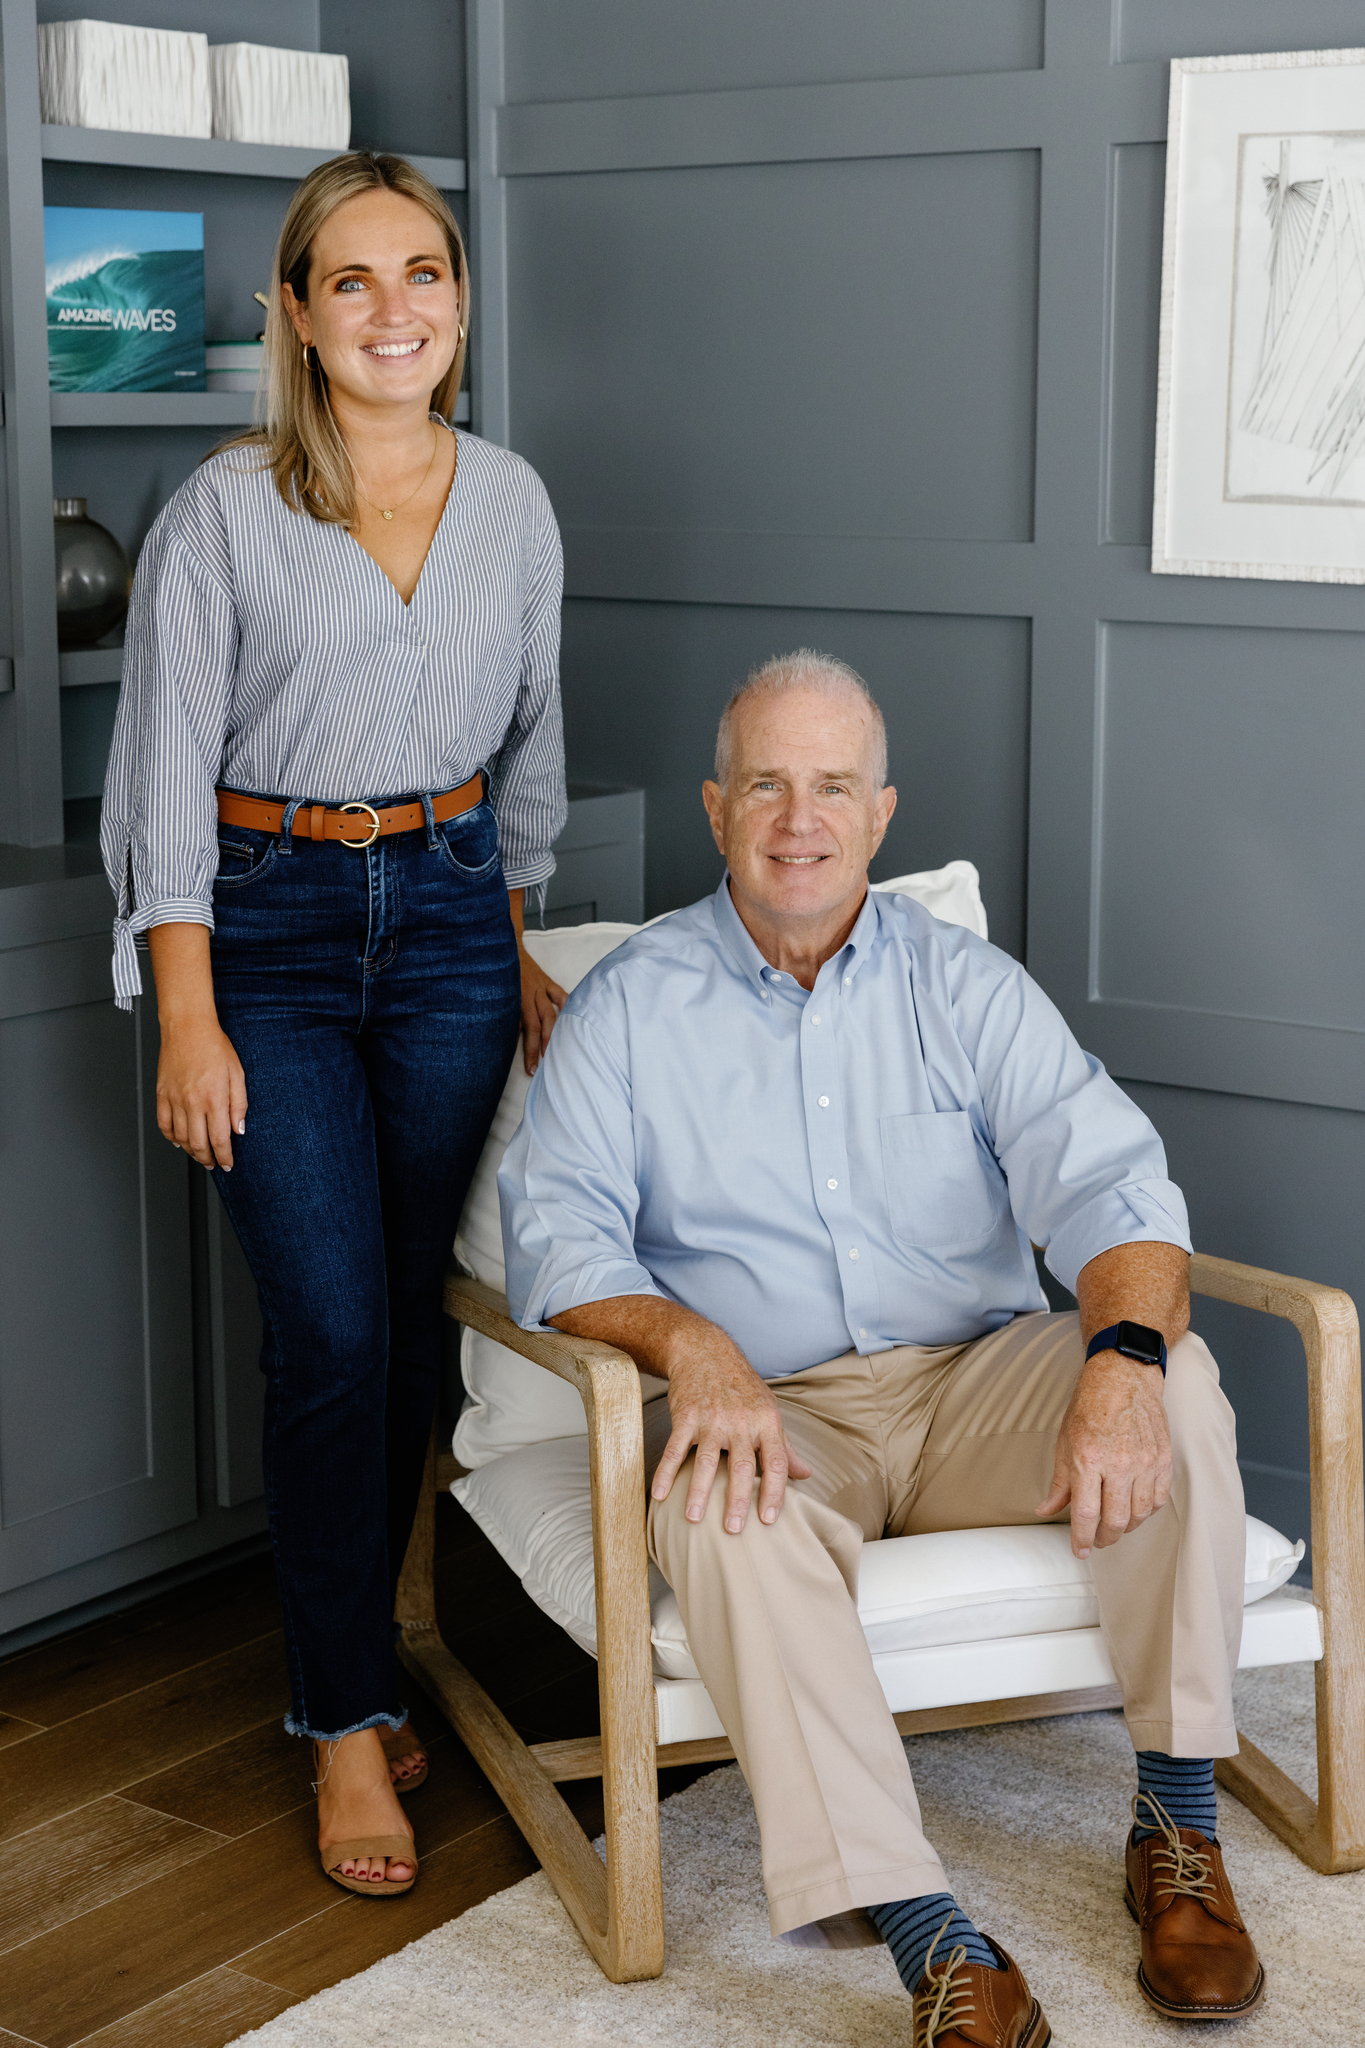
Authors
Bill Byrd and Waverly Byrd bring deep real estate expertise to clients throughout the Charleston area, drawing on years of hands-on experience with residential sales, investment property, relocation, and local market strategy. Their guidance is grounded in market knowledge, careful analysis, and a commitment to helping clients make well-informed real estate decisions.
As a father-and-daughter team, they work collaboratively on every transaction, combining experience, perspective, and consistent communication. Clients benefit from a coordinated approach that emphasizes preparation, clarity, and thoughtful execution at each stage of the buying or selling process across the Lowcountry.